The Complete Guide for Putting a Sleigh Bed Together
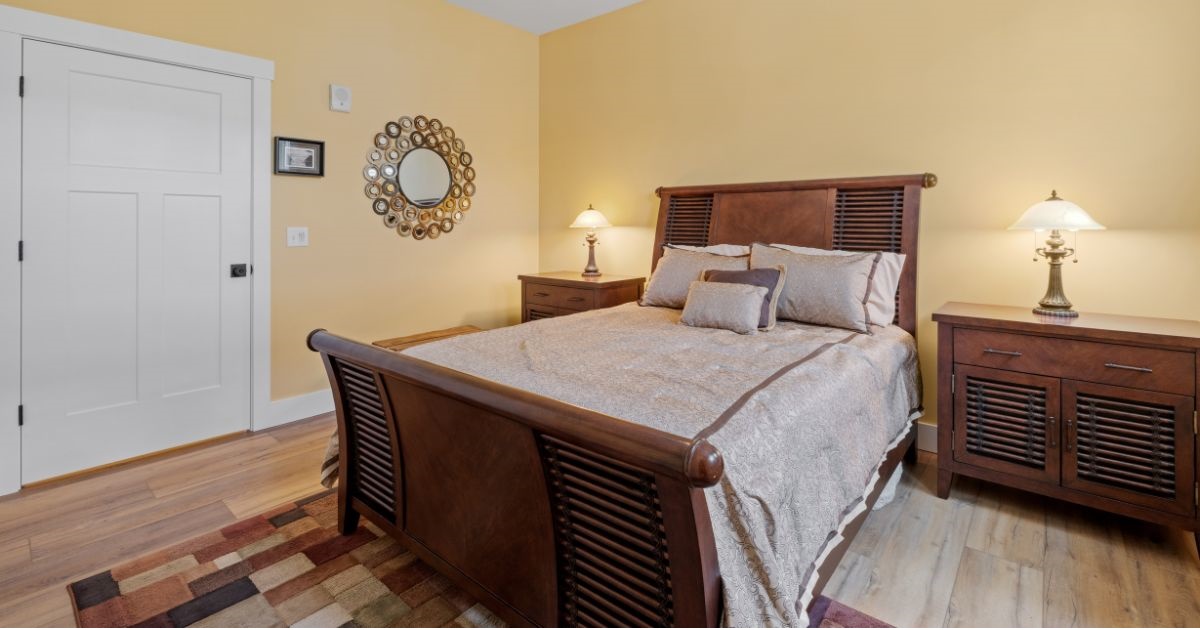
Sleigh beds are timeless and elegant additions to any bedroom, offering style, comfort, and plenty of pleasant dreams. Their classic curves and sturdy construction make them a favorite among homeowners seeking to create a cozy and inviting space. Even so, assembling a sleigh bed isn’t the easiest job in the world, especially if you’re doing it for the very first time.
First and foremost, you should always follow the manufacturer’s directions. This complete guide for putting together a sleigh bed will walk you through each step of the assembly. Whether you’re a seasoned home decorator or a first-time furniture builder, you’ll get a good night’s sleep at the end of the day!

Understanding Your Sleigh Bed Components
Before you begin, it’s important to familiarize yourself with the various parts of your sleigh bed to make sure you have everything you need. Typically, a sleigh bed will include several parts:
- The headboard and footboard are signature components that give the sleigh bed its distinctive shape.
- Side rails connect the headboard and footboard, forming the bedframe.
- The slats or platform base support the mattress, distributing its weight evenly.
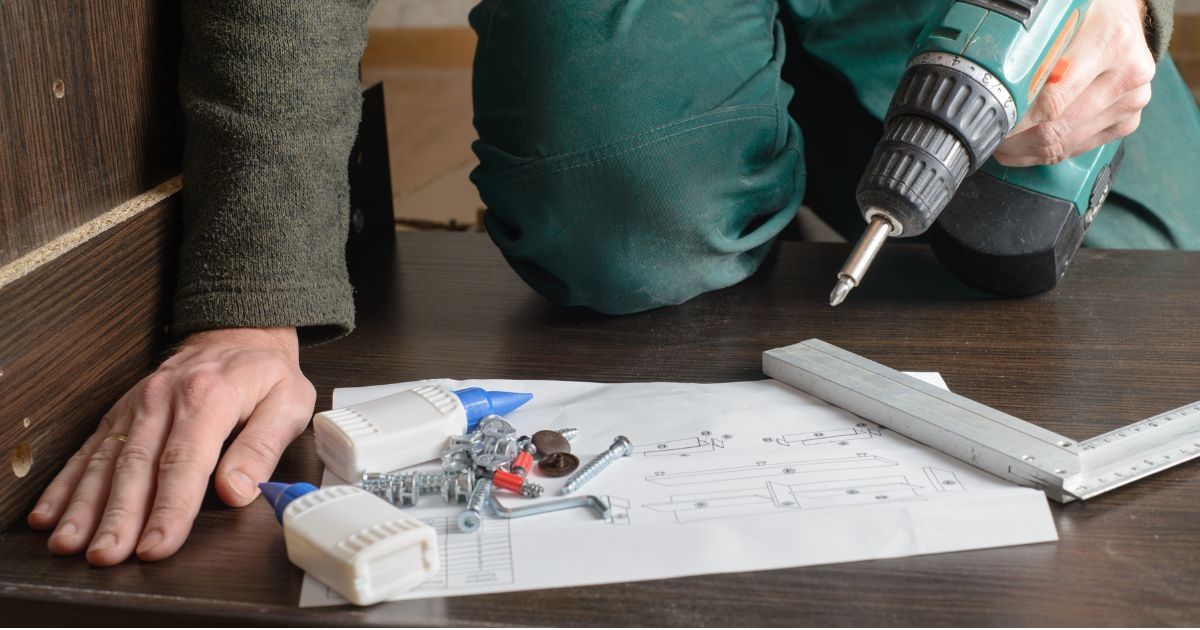
- Assorted hardware, such as bolts, screws, and other fasteners, hold the bedframe together.
If anything appears to be missing, immediately contact the manufacturer or retailer for a replacement.
Preparing Your Workspace
Obviously, the best place to set up the bed is in the bedroom, but is your bedroom prepared for the job? Creating the right environment for assembling your sleigh bed will make it easier. Follow these steps to prepare your workspace:
Clear the Area
Make sure you have ample space to work, ideally in the room where the bed will reside. Remove any obstacles that could hinder movement, and clean up the space where you’ll put the bed.
Gather Tools
Most sleigh beds require basic tools, such as a screwdriver, Allen wrench, or a small hammer. Having them at the ready will streamline the process. Many sleigh beds come with a small tool that has screwdriver and Allen wrench fittings, but hand tools will make the job so much easier. Power drivers/drills and similar power tools can speed things up, but use them sparingly. They could strip screws and split wood!
Lay Down Protection
Avoid scratches on your floor or the bed frame itself by laying down a soft blanket or sheet before pulling out your tools and the bed parts. Set aside a special area and towel or napkin, or better yet, a tray with a high lip for small parts, such as nuts, bolts, and screws. They’re easy to lose, so put them in a place where they won’t get knocked around.
Read Instructions
Even if it looks easy, assume you know nothing and read the manual. This will give you a clear understanding of the process and highlight requirements for your bed model. Supplement this with an online video if necessary. More than likely, there’s an assembly video available on the manufacturer’s website or from another person who bought the same bed! Have it handy in case you run into a challenging section.

Step-by-Step Assembly
Step 1: Assemble the Headboard and Footboard
Begin by attaching decorative elements or legs to the headboard and footboard (if they are not already assembled). This step may vary depending on the design of your bed.
Step 2: Attach the Side Rails
Position the side rails between the headboard and footboard. Align the holes on the rails with those on the headboard and footboard, and secure them using the bolts, dowels, or screws provided. Ensure all connections are tight, but avoid over-tightening because it will damage the wood.
Step 3: Install the Slats or Platform Base
Once the frame is secure, lay the slats or platform base across the width of the bed. If you’re using slats, space them evenly to support the mattress. Secure them using the provided fasteners or screws, as per the instructions.
Step 4: Double-Check Stability
With the main components assembled, gently shake the frame to confirm it is sturdy. Tighten loose bolts or screws as needed. The frame must remain stable to prevent future instability after you put down the mattress.
Step 5: Add the Mattress
Carefully place your mattress on top of the slats or platform base. Ensure it fits snugly within the frame and leaves no gaps.
Step 6: Make Final Adjustments
Take a moment to make final adjustments. Check that all parts are aligned and that the bed frame sits level on the floor. If you have leftover parts that you think you should have used, reread the instructions from the beginning, and work toward the end again.
Tips for a Successful Assembly
Always keep the following pointers in mind as you assemble your new bed:
- Assembly instructions are there for a reason. Following them step-by-step prevents mistakes and saves time!
- Sleigh beds are heavy and unwieldy. Having a second pair of hands makes the process much smoother, especially when aligning large components, such as the headboard. If the manufacturer or retailer offers assembly services, take advantage of that!
Despite your best efforts, issues may arise during assembly. Here are some troubleshooting tips:
- If bolt holes are slightly off, try loosening nearby bolts, realigning the pieces, and retightening everything. Again, don’t overtighten! That could be the cause of the issue.
- Squeaking often results from loose joints. Tighten all screws and bolts, and add a drop of wood glue if the noise persists. Some kits include the glue, but you may need to get your own.
- Saggy mattress? Consider adding additional slats or a sturdier platform for support.
- If certain parts don’t seem to fit as they should, double-check the instructions to ensure everything is in the correct position and orientation. It’s possible the piece might be upside down or reversed.
- Occasionally, a kit might lack a piece of hardware, or you might have misplaced or lost it somewhere in the assembly area. Before proceeding, search for it—use a magnet if it’s metallic. If it is indeed missing, contact the manufacturer or retailer for replacements.
That’s the complete guide for putting a sleigh bed together! Assembling your own sleigh bed is a rewarding task that adds elegance to your bedroom and guarantees a big, comfortable place to sleep and snooze.
Need help picking a sleigh bed or assembling one you purchased at our store? Explore a wide selection of sleeping styles on our site. We offer flexible payment schedules, including a bedroom furniture pay monthly option!


